
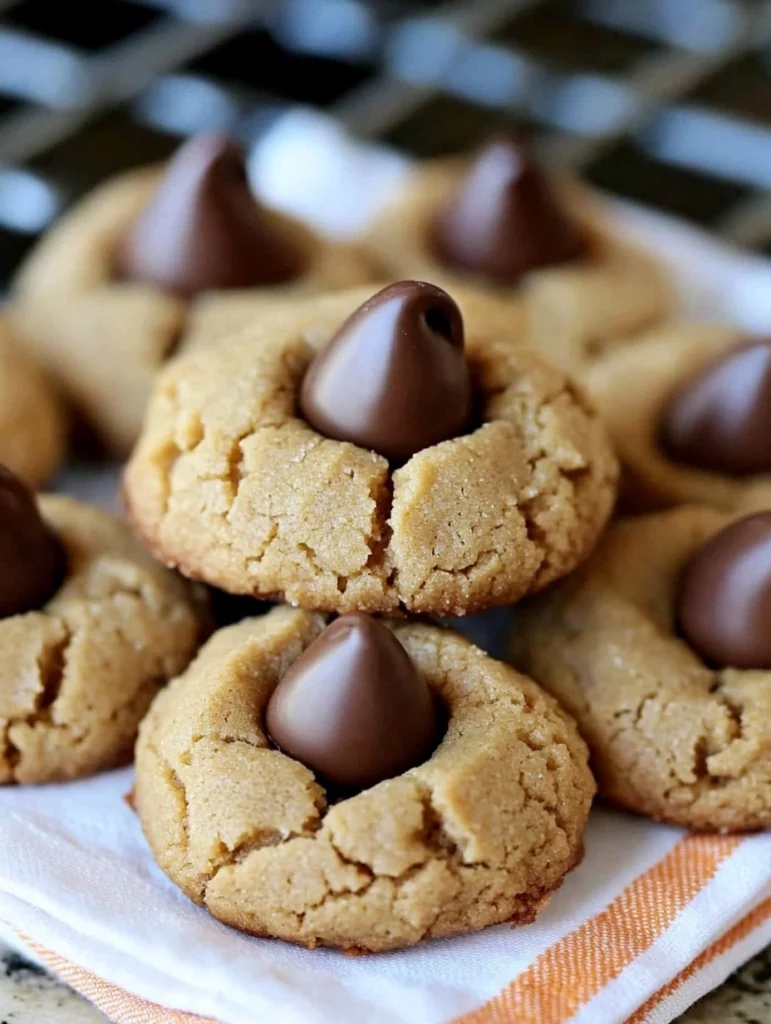
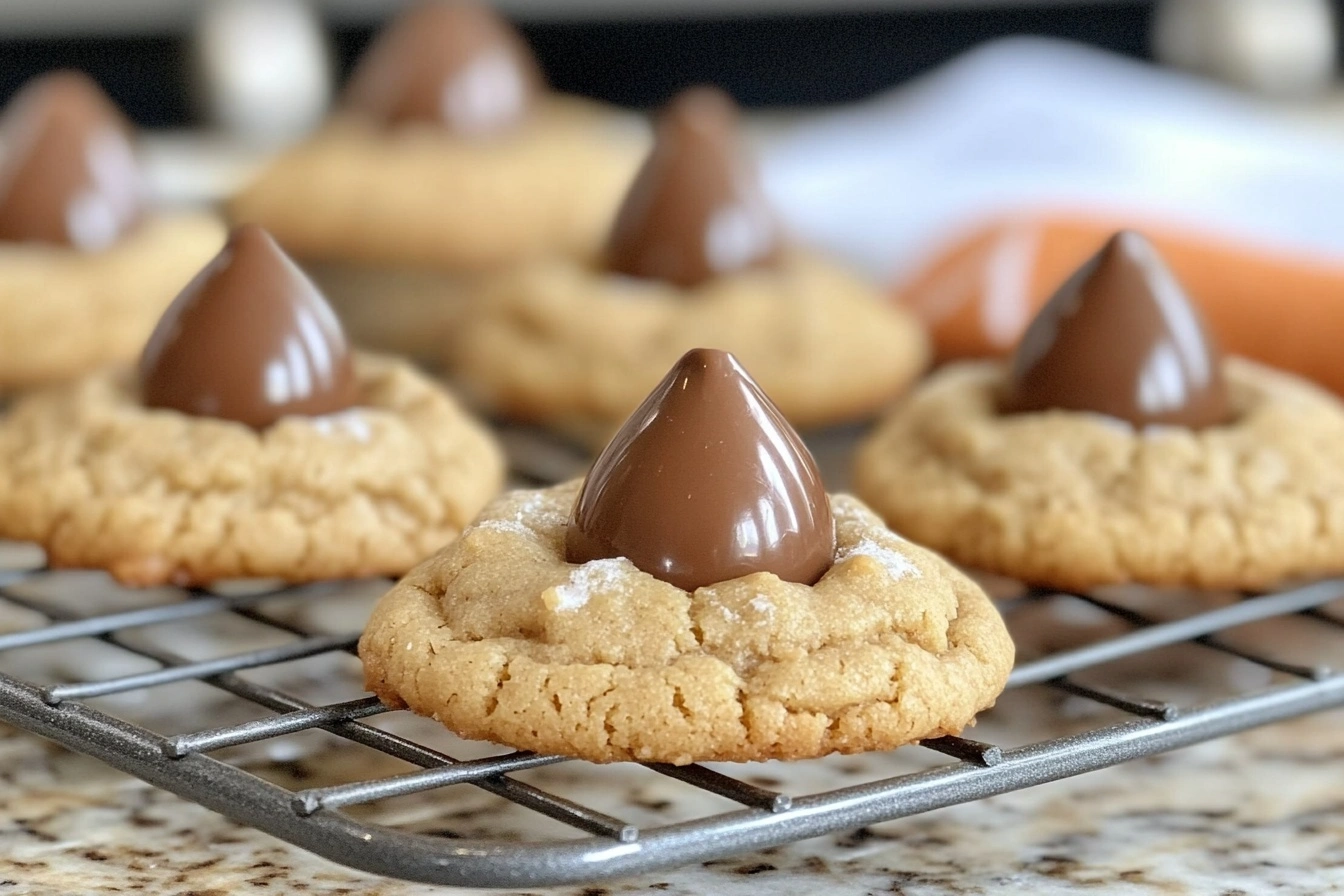
These peanut butter kiss cookies are the perfect blend of soft, peanut buttery goodness topped with a rich, milk chocolate kiss. Whether you’re baking for the holidays, a party, or just to satisfy a sweet tooth, these cookies are always a crowd-pleaser.
I first made these cookies with my grandmother when I was little, and they’ve held a special place in my heart ever since. There’s just something so nostalgic about the peanut butter base paired with that signature chocolate kiss on top.
They’re simple to make, but the flavor combination is timeless and irresistible. Let’s dive in and bake up a batch of these delightful cookies!
What’s Inside This Recipe?
Ingredients for Peanut Butter Kiss Cookies
Making these cookies is a breeze, and you probably already have most of the ingredients in your pantry. Here’s what you’ll need:
- 1/2 cup vegetable shortening
- 1/2 cup creamy peanut butter
- 1/2 cup packed light brown sugar
- 3/4 cup granulated sugar, divided
- 1 large egg
- 2 tablespoons whole milk
- 1 teaspoon vanilla extract
- 1 3/4 cups (about 7 1/2 oz.) all-purpose flour
- 1 teaspoon baking soda
- 1/2 teaspoon kosher salt
- 36 milk chocolate kisses
You’ll also need a stand mixer (or hand mixer), parchment paper, and a baking sheet to bring these cookies to life.
How to Make Peanut Butter Kiss Cookies
Ready to bake? I’ll guide you through step by step to make sure your cookies turn out perfectly every time.
Prepare the oven and baking sheet
Preheat your oven to 375°F. Line a baking sheet with parchment paper to prevent sticking and make cleanup a breeze.
Make the cookie dough
Start by beating the vegetable shortening and peanut butter together in a stand mixer fitted with a paddle attachment. Mix on medium speed until smooth, this should take about a minute.
Next, gradually add the brown sugar and 1/2 cup of the granulated sugar to the mixture. Beat until the mixture is light and fluffy, about 2 minutes.
Add the egg, milk, and vanilla extract, and continue beating on medium-high speed until everything is fully combined and fluffy. This step adds air to the dough, which helps the cookies bake up beautifully.
In a separate bowl, stir together the flour, baking soda, and salt. With the mixer on low speed, slowly add the dry ingredients to the wet mixture. Continue mixing until just combined.
Shape the dough into balls
Roll the dough into 36 (1-inch) balls. I like to use a small cookie scoop for even portions, but you can also eyeball it.
Coat the dough balls in sugar
Place the remaining 1/4 cup of granulated sugar in a small bowl. Roll each dough ball in the sugar until fully coated.
Arrange and bake
Place 12 dough balls on the prepared baking sheet, spacing them about 2 inches apart. Bake in the preheated oven for 8 minutes.
Add the chocolate kisses
Remove the cookies from the oven and immediately press one chocolate kiss into the center of each cookie. The heat from the cookies will slightly melt the bottom of the chocolate, helping it stick.
Return the cookies to the oven and bake for an additional 2 minutes, or until the edges are lightly golden.
Cool and repeat
Let the cookies cool on the baking sheet for 3 minutes before transferring them to a wire rack to cool completely.
Repeat the process with the remaining dough balls and chocolate kisses. Once all batches are baked, allow the cookies to cool for about 20 minutes before serving.
How to Serve Your Peanut Butter Kiss Cookies
- These cookies are perfect as a sweet treat for any occasion.
- Serve them on a festive platter for holiday gatherings, pair them with a glass of cold milk for an afternoon snack, or package them in a decorative tin as a thoughtful homemade gift.
- They’re just as lovely on a dessert table as they are enjoyed straight from the cooling rack.
Storing and Enjoying Leftovers
- To keep your peanut butter kiss cookies fresh, store them in an airtight container at room temperature for up to 5 days.
- If you’d like to keep them longer, you can freeze the cookies in a sealed container or freezer bag for up to 3 months.
- To thaw, simply let them sit at room temperature for about 30 minutes.
- Reheat them in the microwave for just a few seconds if you want that fresh-from-the-oven warmth.
Top Tips for Customizing Your Peanut Butter Kiss Cookies
- Use dark chocolate or white chocolate kisses instead of milk chocolate for a fun twist.
- For a festive touch, roll the cookie dough balls in colored sugar before baking.
- If you’re making these cookies for someone with a gluten intolerance, swap the all-purpose flour for a 1:1 gluten-free baking flour.
- Add a sprinkle of flaky sea salt on top of the chocolate kiss for a sweet and salty flavor combination.
Your Questions About Peanut Butter Kiss Cookies Answered
Can I use butter instead of shortening?
Yes, you can substitute butter for the shortening, but keep in mind that the texture may be slightly different. Shortening helps the cookies stay soft and tender, while butter might make them spread a bit more.
Can I make the dough ahead of time?
Absolutely! You can prepare the dough up to 2 days in advance and store it in the refrigerator. Just let it come to room temperature for about 20 minutes before rolling into balls and baking.
Why do I need to press the chocolate kiss into the cookies right after baking?
Pressing the chocolate kiss into the warm cookies allows it to gently melt onto the cookie, helping it stick as it cools. If you wait too long, the cookie will firm up, and the kiss might not stay in place.
Can I freeze the cookie dough?
Yes, you can freeze the dough balls before baking. Place them on a baking sheet and freeze until firm, then transfer to a freezer bag. Bake from frozen, adding an extra 1–2 minutes to the baking time.
Soft, chewy, and chocolate-kissed—save this holiday classic!
Peanut butter kiss cookies are a classic for a reason, they’re simple, delicious, and always a hit. Whether you’re baking for a holiday spread or just because, these cookies are sure to bring smiles to everyone who tries them.
I’d love to hear how your batch turns out! Leave a comment below, or tag me on social media if you share your cookies. And if you’re looking for more easy and delightful recipes, be sure to explore the other treats on WandaRecipes.com.
Happy baking!
Peanut Butter Kiss Cookies
Ingredients
- 1/2 cup vegetable shortening
- 1/2 cup creamy peanut butter
- 1/2 cup packed light brown sugar
- 3/4 cup granulated sugar divided
- 1 large egg
- 2 tablespoons whole milk
- 1 teaspoon vanilla extract
- 1 3/4 cups about 7 1/2 oz. all-purpose flour
- 1 teaspoon baking soda
- 1/2 teaspoon kosher salt
- 36 milk chocolate kisses
Instructions
Prepare the oven and baking sheet
- Preheat your oven to 375°F. Line a baking sheet with parchment paper to prevent sticking and make cleanup a breeze.
Make the cookie dough
- Start by beating the vegetable shortening and peanut butter together in a stand mixer fitted with a paddle attachment. Mix on medium speed until smooth, this should take about a minute.
- Next, gradually add the brown sugar and 1/2 cup of the granulated sugar to the mixture. Beat until the mixture is light and fluffy, about 2 minutes.
- Add the egg, milk, and vanilla extract, and continue beating on medium-high speed until everything is fully combined and fluffy. This step adds air to the dough, which helps the cookies bake up beautifully.
- In a separate bowl, stir together the flour, baking soda, and salt. With the mixer on low speed, slowly add the dry ingredients to the wet mixture. Continue mixing until just combined.
Shape the dough into balls
- Roll the dough into 36 (1-inch) balls. I like to use a small cookie scoop for even portions, but you can also eyeball it.
Coat the dough balls in sugar
- Place the remaining 1/4 cup of granulated sugar in a small bowl. Roll each dough ball in the sugar until fully coated.
Arrange and bake
- Place 12 dough balls on the prepared baking sheet, spacing them about 2 inches apart. Bake in the preheated oven for 8 minutes.
Add the chocolate kisses
- Remove the cookies from the oven and immediately press one chocolate kiss into the center of each cookie. The heat from the cookies will slightly melt the bottom of the chocolate, helping it stick.
- Return the cookies to the oven and bake for an additional 2 minutes, or until the edges are lightly golden.
Cool and repeat
- Let the cookies cool on the baking sheet for 3 minutes before transferring them to a wire rack to cool completely.
- Repeat the process with the remaining dough balls and chocolate kisses. Once all batches are baked, allow the cookies to cool for about 20 minutes before serving.


